Corrugated
Slotted container with crash-lock bottom
Preglued corrugated box: glued at the factory and supplied flat, the crash-lock bottom closes automatically during erection. Selectable lid: flaps as on a regular slotted container, full overlap, or open.
Opens the online editor with this template. Try it without payment details; export with Pro.
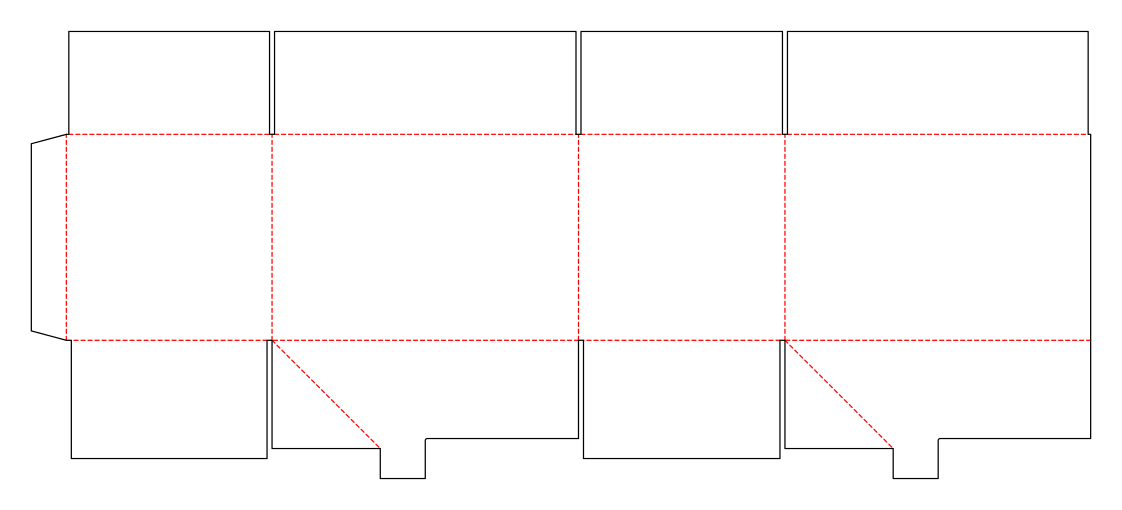
- Template
- Slotted container with crash-lock bottom
- Category
- Corrugated
- Dimension reference
- Inside dimensions
- Default dimensions
- 300 × 200 × 200 mm
- Parameters
- 9
- Version
- v1
- Template ID
- corrugated.autobottom
Dimensions and limits
Default dimensions of the template and the permitted range in mm.
| Dimension | Default | Range |
|---|---|---|
| Length | 300 mm | 50–600 mm |
| Width | 200 mm | 50–600 mm |
| Height | 200 mm | 50–600 mm |
Parameters of this construction
9 parameters with default value and limits, adjustable in the editor.
| Parameter | Default | Range | Note |
|---|---|---|---|
Glue flapglueFlap | 35 mm | 20–60 mm | Width of the glue flap used to glue the blank into a tube. The material requires a minimum width. |
Glue flap angleglueFlapAngle | 15° | 0–20° | Bevel at the ends of the glue flap; facilitates folding and erection. |
Flap gapflapGap | 5 mm | 0–12 mm | Gap between neighboring flaps or walls; at least approximately the material thickness. |
LidtopClosure | meet | meet · fullOverlap · open | Top closure: flaps as on a regular slotted container, fully overlapping outer flaps, or open. |
Bottom wing overlapwingOverlap | 30 mm | 10–150 mm | Overlap of the folding wings in the closed crash-lock bottom. |
Lock stylelockStyle | hook | hook · none | Lock shape in the crash-lock bottom: hook or no lock. |
Hook steplockStep | 20 mm | 5–75 mm | Step of the hook contour; at least half the overlap, at most as much as the opening allows. |
Glue field widthglueFieldWidth | 15 mm | 10–40 mm | Width of the glue field on the bottom wings' flap. |
Glue field gapglueFieldGapExpert | 5 mm | 3–10 mm | Distance of the glue field from the diagonal crease and flap edges; at least the material thickness. |
Assembly
At the factory: fold the bottom wing flaps back along the diagonals, apply adhesive, flatten the body, and glue the glue flap and flaps. At the customer: erect the body until the bottom locks, fill, then close and tape the top flaps.
Grain direction
Grain direction parallel to height (check)
Reference note
Reference classification still pending
Labels such as “similar to FEFCO” or “ECMA family, unconfirmed” are for orientation only. The templates are our own constructions; an assignment to a standard code is unconfirmed and not a trademark claim.
Frequently asked questions about this template
What must be glued before erection?
At the factory, the bottom wing flaps are folded back along the diagonal creases and adhesive is applied. The tube is flattened; the side glue flap and bottom flaps are glued. Only this prepared state enables the intended erection sequence. The dieline alone does not produce a functional crash-lock bottom.
How does a crash-lock bottom differ from a snap-lock bottom?
The snap-lock bottom closes during erection in a sequence of side flaps, tongue, and locking tab. The crash-lock bottom is preglued and closes as the tube is erected. It therefore requires different bottom wings, diagonal creases, and glue fields. Use the appropriate ID instead of replacing the closure of a finished contour.
Why is the flat tube checked?
The preglued box is supplied flat. Bottom wings must fit in this state without pressing against each other. wingOverlap.fitsFlatTube checks this additional geometry. A bottom can appear to fit when erected yet interfere when flattened. Check both states on the glued sample.
Can I turn off the hook lock?
lockStyle offers hook and none. With hook, lockStep controls the step in the hook contour and is limited geometrically. With none, this lock form is absent; the construction remains a preglued crash-lock bottom. Check with your production partner what closure performance and load capacity the specific contents require.
How large can the glue field be?
glueFieldWidth offers 10–40 mm; the starting value is 15 mm. glueFieldWidth.fitsTab also limits its actual placement on the flap. glueFieldGap maintains clearance from the diagonal crease and edges. These dimensions do not replace checks of adhesive, application amount, and strength on the target material.
Related templates
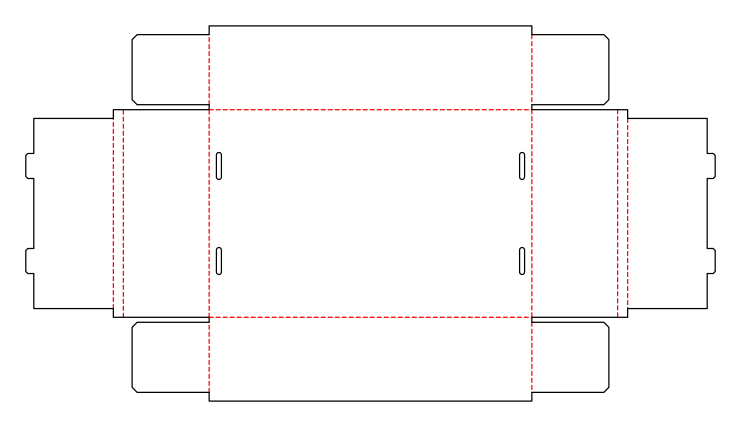 CorrugatedFolding tray with lock cornerscorrugated.tray
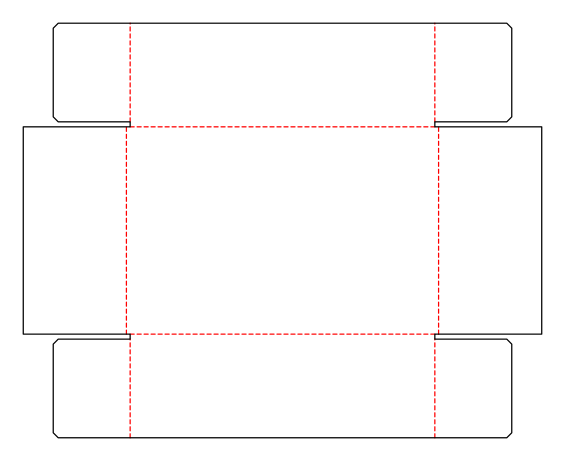 CorrugatedCorrugated telescope box2 × corrugated
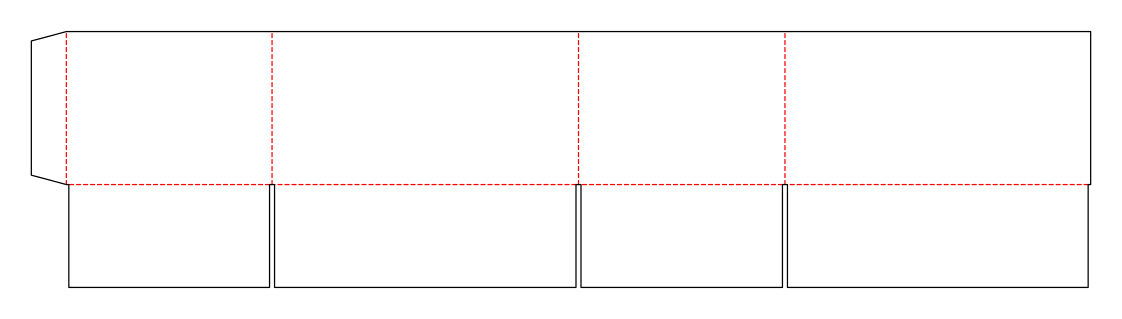 CorrugatedHalf slotted containercorrugated.halfslotted
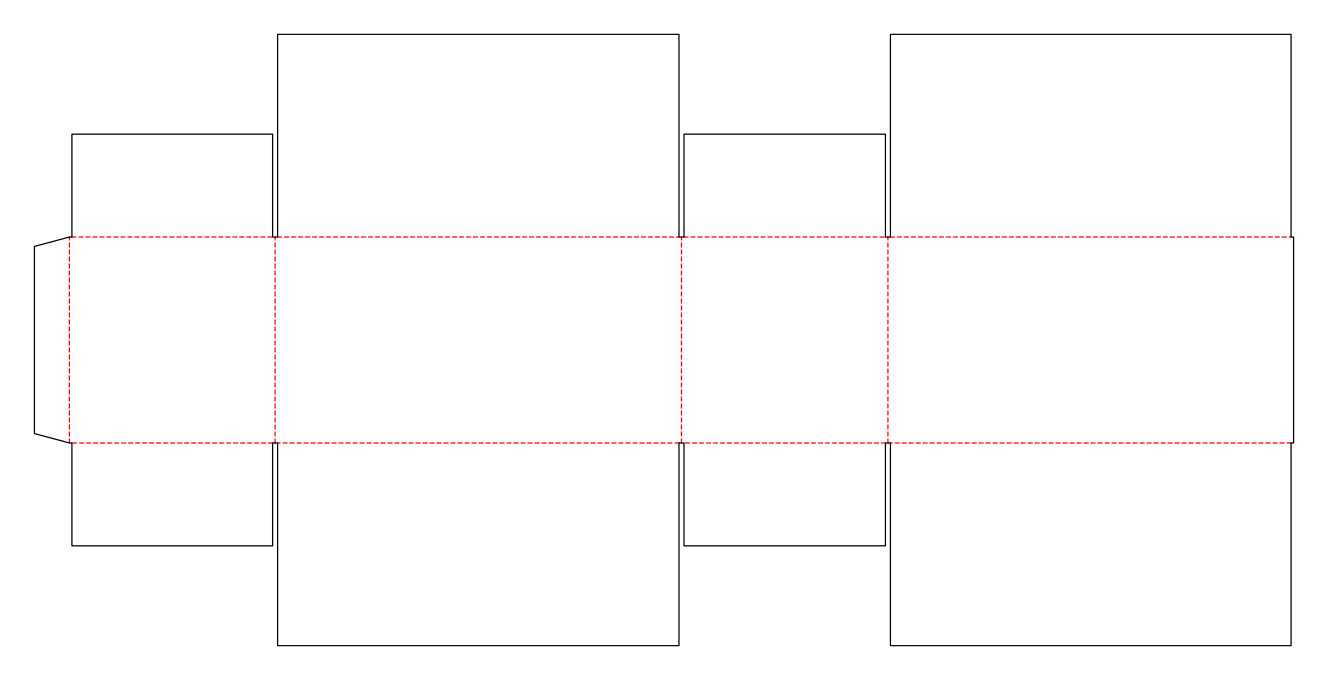 CorrugatedFull overlap slotted containercorrugated.rsc.fulloverlap
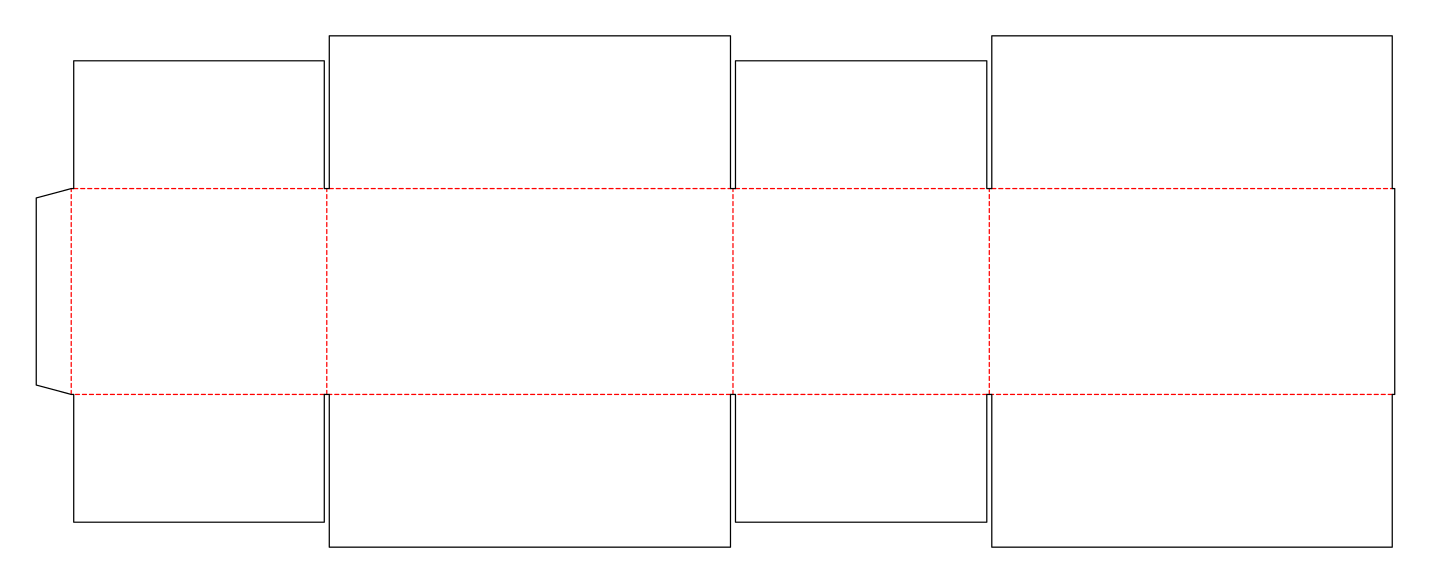 CorrugatedOverlap slotted containercorrugated.rsc.overlap.outer
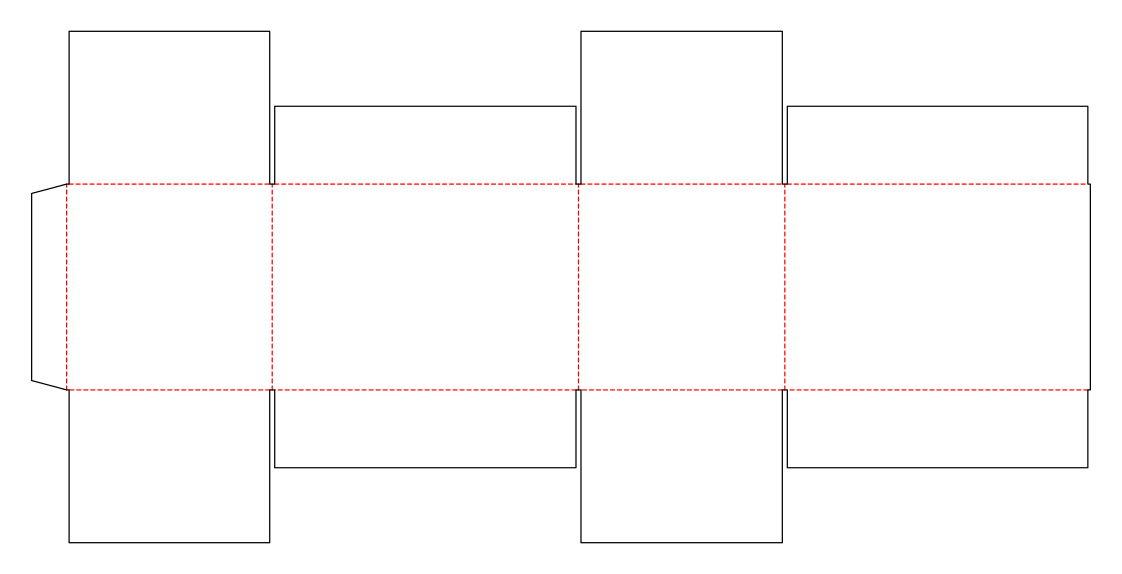 CorrugatedSlotted container with meeting inner flapscorrugated.rsc.innerfull
Customise the Slotted container with crash-lock bottom in your browser
Set dimensions and material, review findings and export print-ready as PDF, SVG or DXF.